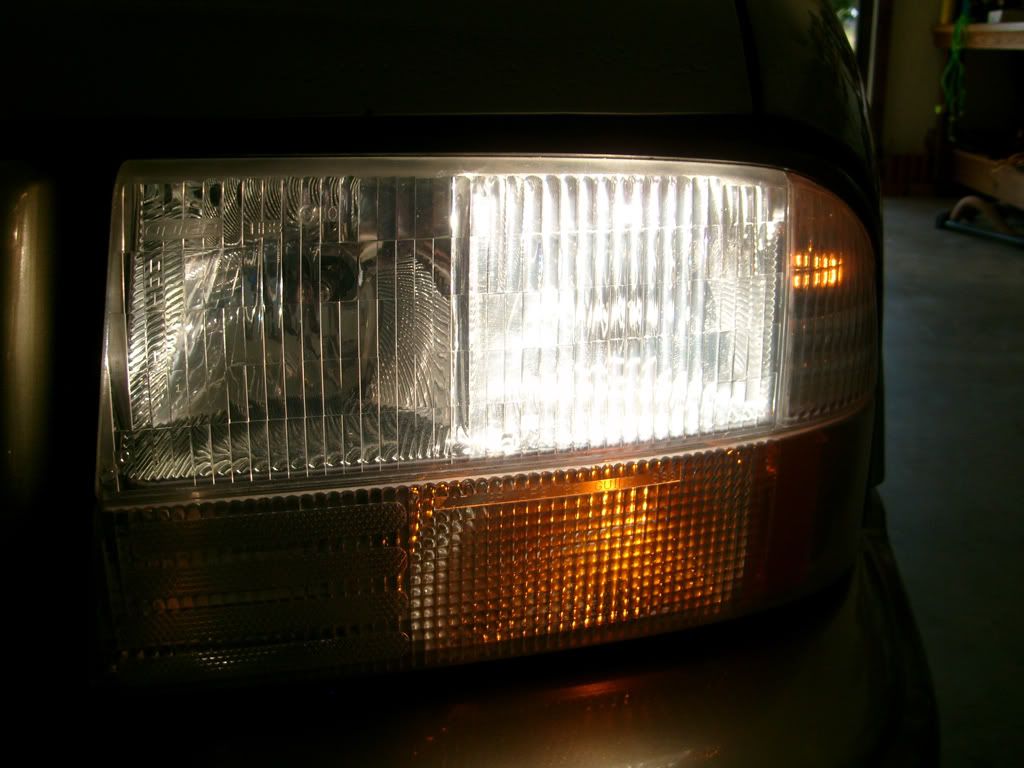
So are your headlights yellow or dull? want to make them to shine but dont want to spend $$$ to get new ones? Well here is what you can do to bring life back into those dull headlights.
Difficulty: EASY
Time: 2-4+ hours (depending on condition of headlights) Total elapsed time for just one headlight in the making of this how-to.....2 Hours.
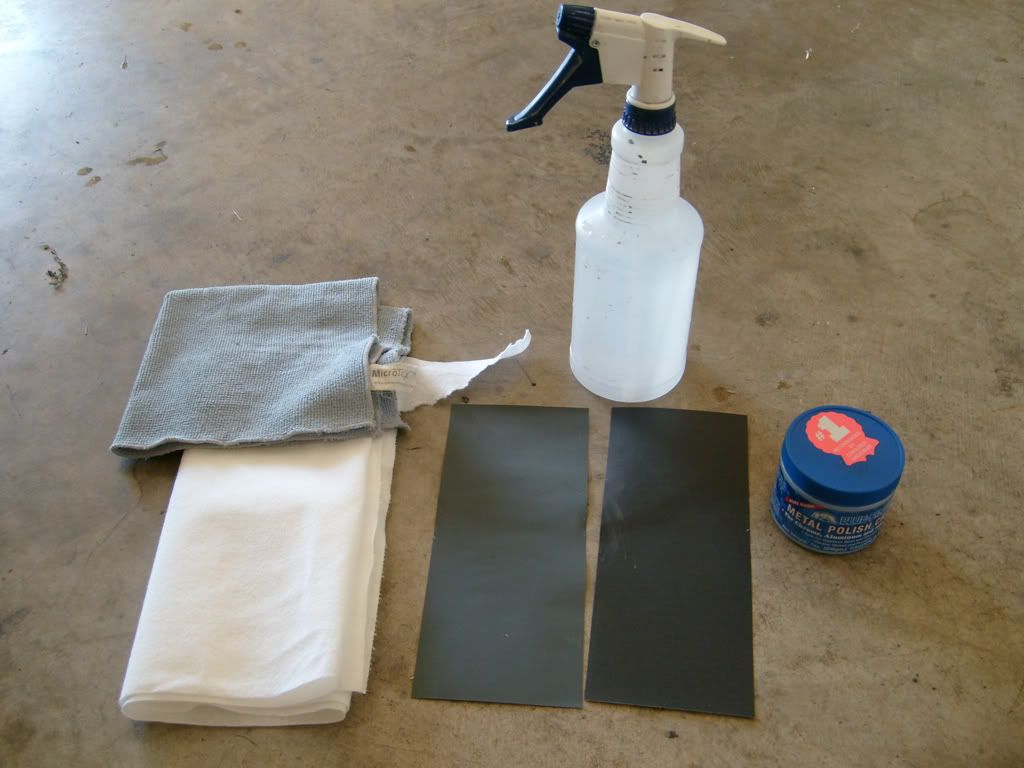
Items needed
Paper Towels
Microfiber cloth
Spray bottle with water
800 grit wet/dry sandpaper
1000 grit wet/dry sandpaper
Blue Magic Metal Polish
Chair (optional)
STEP 1
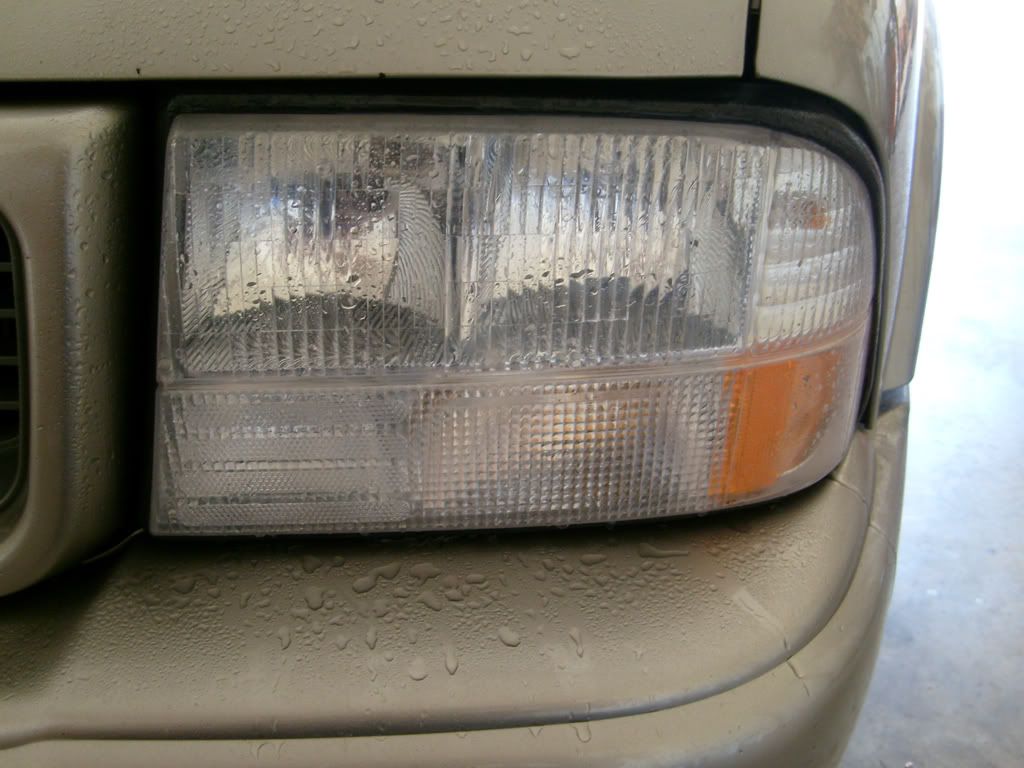
Spray water over the headlight and get the entire surface wet.
(my headlights are not yellow/dull now but i decided to redo them just for this HOW-TO)
STEP 2
Wet sand the entire area with 800 grit while keeping the area wet with the spray bottle. Do not worry about sanding too much because the headlight lens is think and with 800 grit it would take you forever to sand through it.
*TIP* Turn the headlight on and use the light to see any imperfections in the lens before continuing to the next step. In some severe cases the lens will have small cracks through the plastic that cannot be removed. Use good judgment and you will be fine. Also if you want you can remove the headlight if its easier for you to work on it but for me i decided to keep it on the truck.
STEP 3
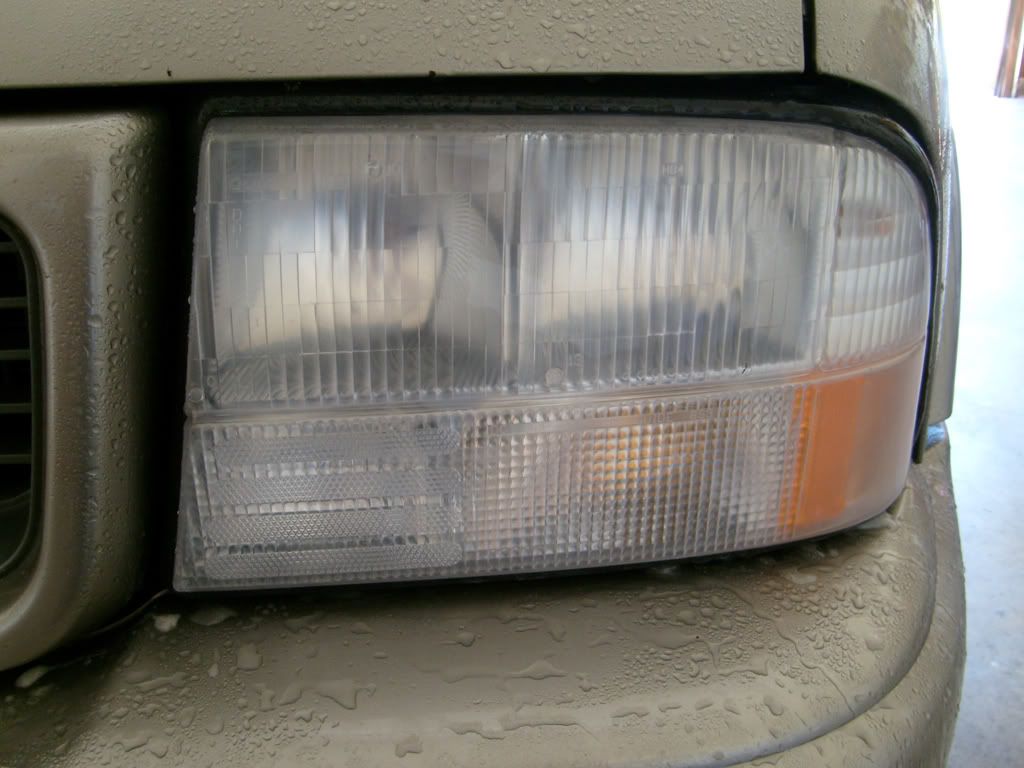
Wet sand the area again with 1000 grit after you are satisfied with the headlight appearance. This will make polishing the headlight easier since you have to remove 1000 grit scratches instead of 800. Not much wet sanding is needed here, just give it a general sanding.
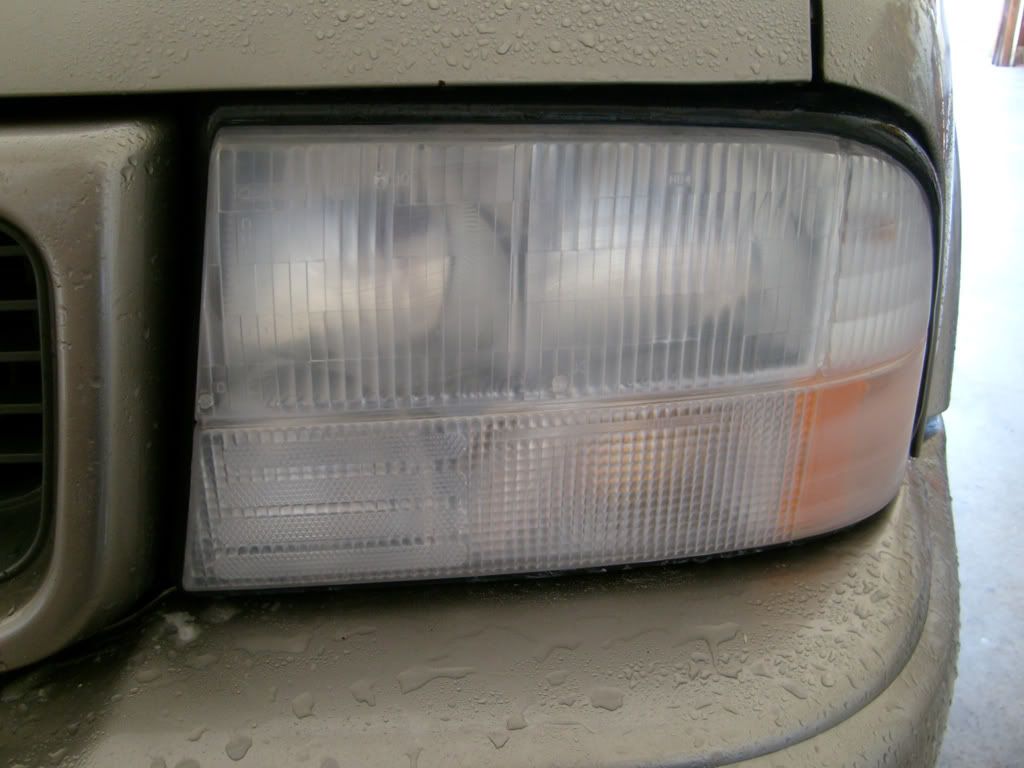
STEP 4
Now its time for the polishing. Wipe the headlight with the paper towels to dry them off. Then get a clean microfiber cloth and apply some Blue Magic Polish to the headlight in a circular motion. I usually polish one area at a time.
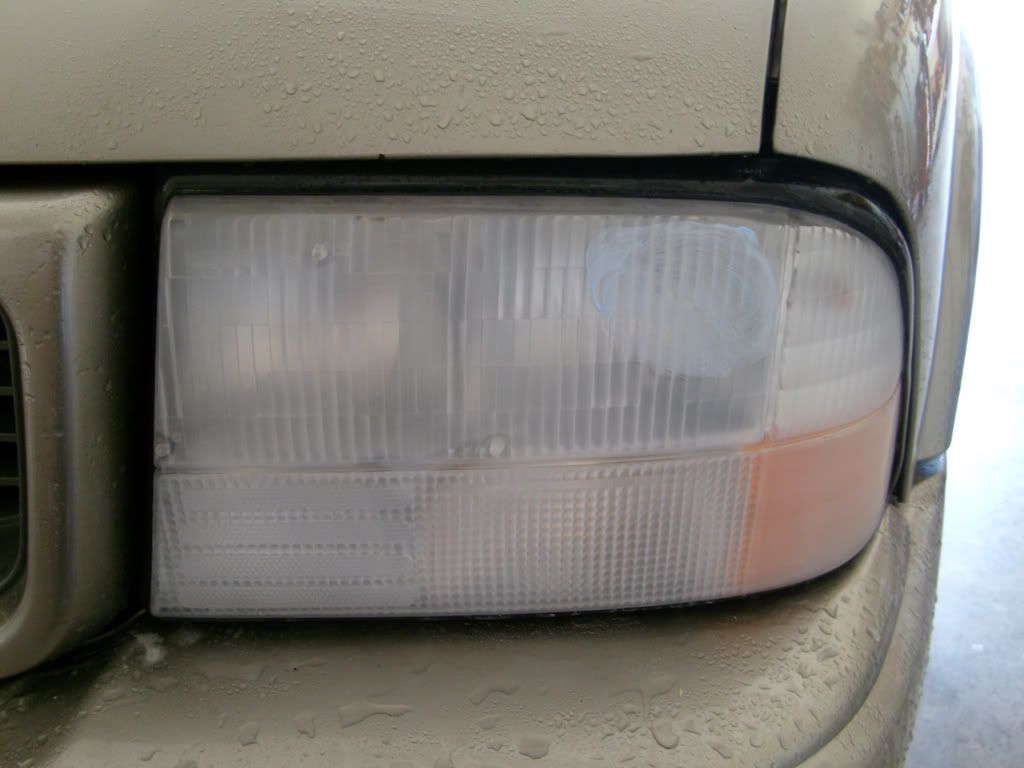
A quick buff and you can see it starting to look better.
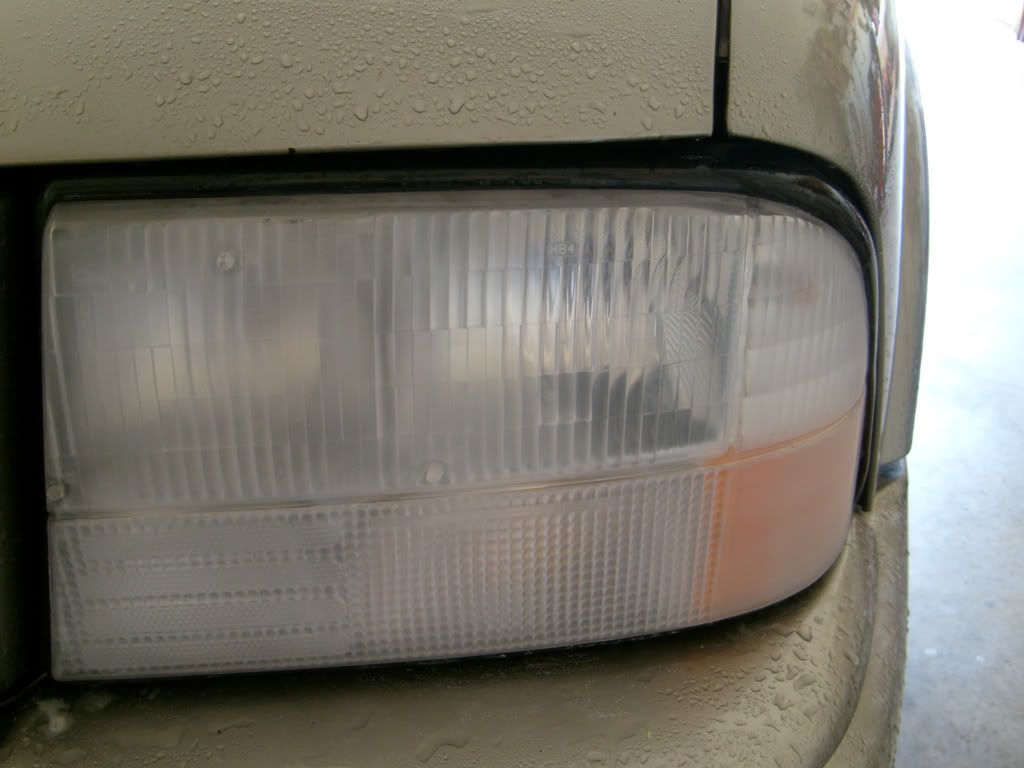
STEP 5
Continue polishing your area with a microfiber cloth. The polish will not change color but polish a minute or two then wipe away and repeat, apply as necessary.
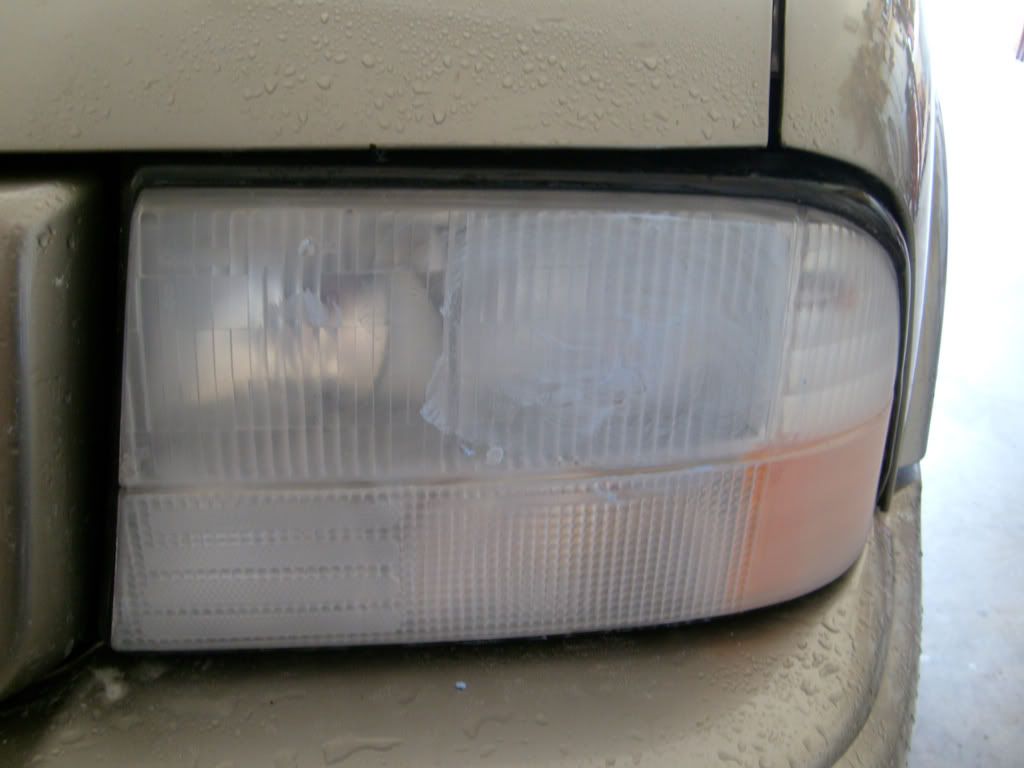
After polishing awhile you can see that the polish is doing its job and the headlight is starting to look like new. The area is not done yet, it still looks a little dull but just keep polishing until you get it to really shine.
http://i187.photobucket.com/albums/x...O/S7301108.jpg
Fast forward a little bit and you can see i have the high and low beam area done. The low beam still needs to be touched up some but overall its looking good.
You can see im starting to work on the lower part of the headlight and the side.
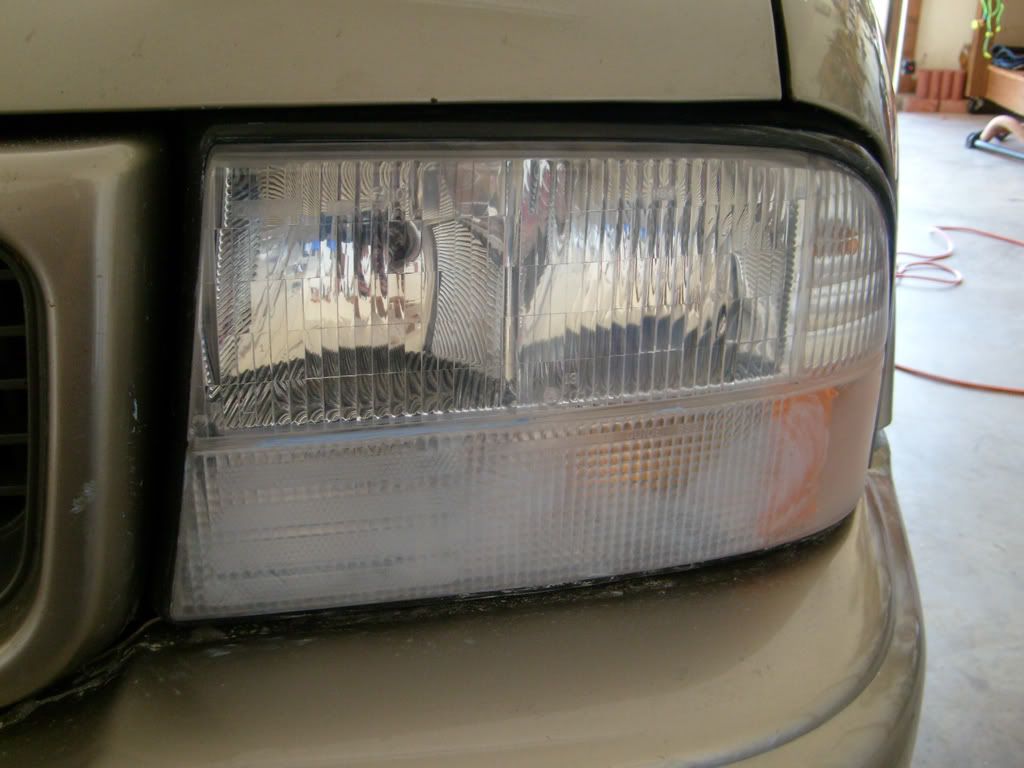
Bottom of the headlight is almost done, expect to spend some time with polishing and DO NOT TRY TO USE A DREMEL, if you want you can try using MOTHERS Powerball but personally i have not tried it so i cant tell you how it works.
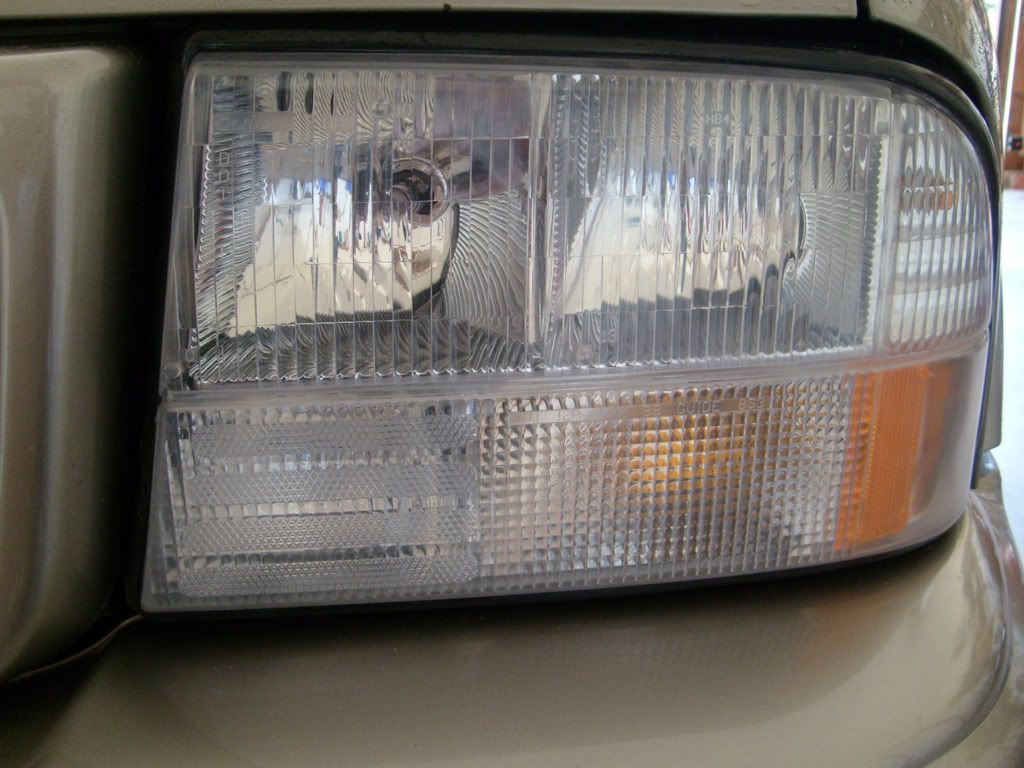
FINALLY! after all that work you should have this, a fully restored headlight you can be proud of.
So now after all that you work need to do the other side. Im sure after you do just one side you need to take a break and i bet your arm feels like its about to fall off. At least you saved your self some $$$ and restored your headlights to their former shine.
You may also be wondering if they will just turn dull again, the answer is yes but every 4 months just give them a quick buff with the Blue Magic polish, just a quick 5 minute buff to keep them looking like new. The second pic is how my headlights looked like a YEAR later. Just re-polish when necessary.
